Remove the Background Before You Laser Engrave
A cluttered background engraves as grey mush behind your subject. One click in the free editor strips it out, privately, in your browser, so the laser burns only what matters.
A free one-click background remover for laser engraving photos. It runs entirely in your browser, so the photo never leaves your computer. Strip the background, convert the subject to grayscale, dithered, or pencil style, and export a PNG ready for engraving, or trace it to SVG for cutting.
Nothing is uploaded
Background removal runs entirely in your browser. The photo never leaves your computer, which makes it safe for family photos and client work.
One-click cutout
An AI model isolates people, pets, and products automatically. Touch up edges with the restore and erase brushes.
Engraving styles built in
Grayscale, dither, and pencil conversions turn the cutout into tones a laser can actually burn.
Free, no watermark
No signup, no credit cost, no watermark on the export. Open the editor and start.
How to use the remove the background before you laser engrave
- 1
Open your photo
Drag a JPG, PNG, or WEBP into the free editor. The photo is processed locally in your browser and never uploaded to a server.
- 2
Remove the background in one click
An AI cutout model running on your own device separates the subject from the background. Tidy edges with the restore and erase brushes if needed.
- 3
Pick an engraving style
Convert the cutout to grayscale, a dithered dot pattern, or a pencil-sketch style so the laser can reproduce the tones on wood, slate, acrylic, or glass.
- 4
Export and engrave
Download a PNG at true size for engraving, or trace the subject to SVG if you want to cut its outline instead. Files drop straight into LightBurn, the Glowforge App, or xTool Creative Space.
Why the background should go before you engrave
A laser engraver burns everything in the image, including the kitchen counter, the leash, and the stranger walking behind your subject. Photo engravings on wood or slate look dramatically better when the subject sits alone on a clean blank field, because the material's contrast range goes to the face or the fur instead of being spent on clutter. Removing the background is the single highest-impact edit you can make to a photo before engraving it. One click in the editor does it, and the subject comes out with a clean edge, ready for tone conversion.
Private by design: the photo never leaves your computer
Most online background removers upload your photo to a server, process it there, and keep a copy for some retention window. The StencilCut editor works differently: the cutout model is downloaded into your browser and runs on your own device. Nothing is transmitted and nothing is stored, and the tool keeps working on a flaky workshop connection once the page has loaded. That matters for the photos people actually engrave, which are usually family portraits, kids, and pets, and for makers handling customer photos who would rather not explain a third-party upload to anyone.
From clean cutout to engrave-ready file
A laser cannot burn shades of grey directly on most materials, so after the background is gone the editor converts the subject into something the machine can reproduce: smooth grayscale for photo-mode engraving, a dithered dot pattern that builds tones from thousands of tiny dots, or a pencil-sketch style that engraves like a hand drawing. Export the result as a PNG at the exact physical size you plan to engrave, or trace the subject outline to SVG if you want to cut a silhouette instead. Both import directly into LightBurn, RDWorks, the Glowforge App, and xTool Creative Space.
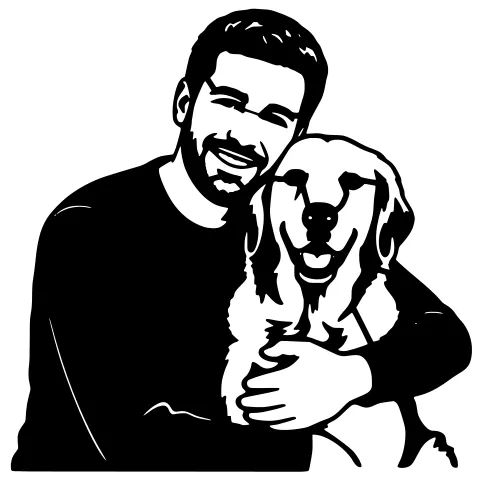
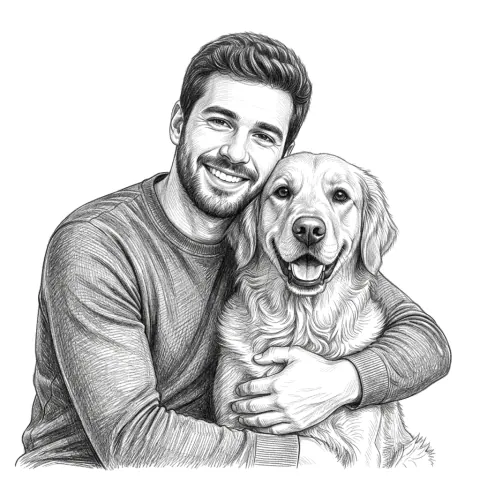
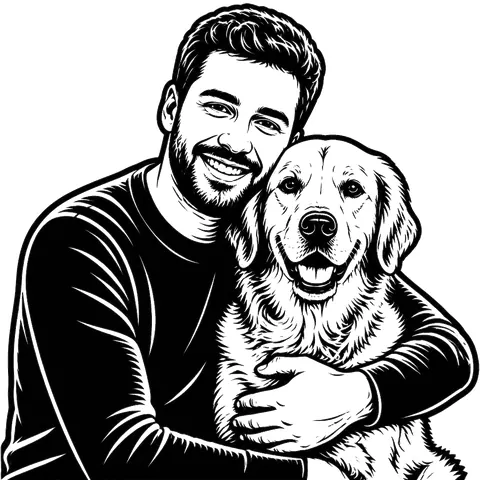
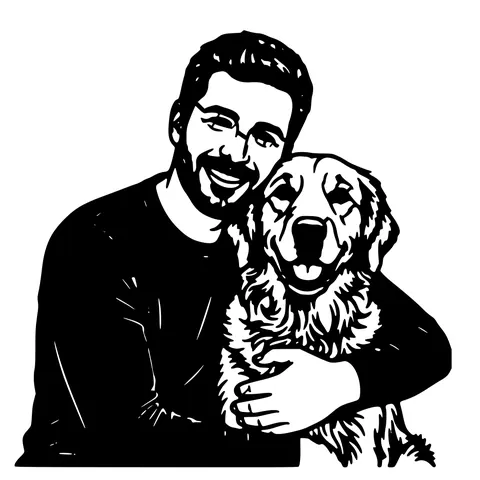
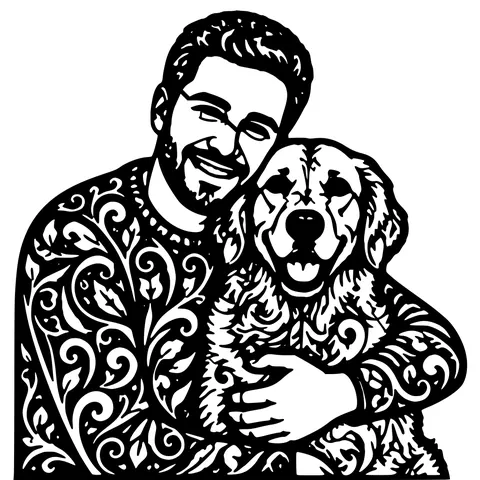
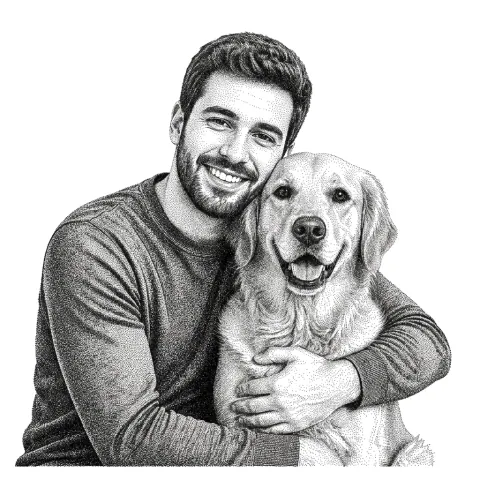
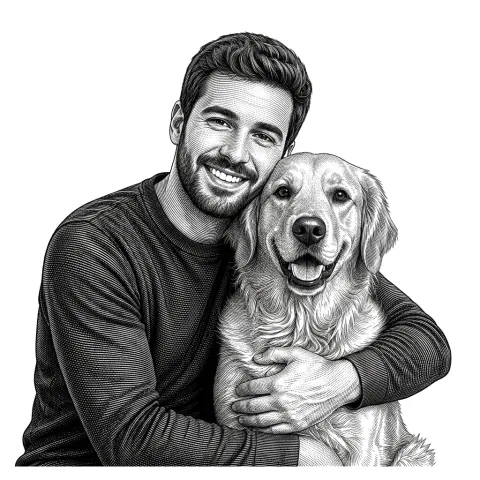
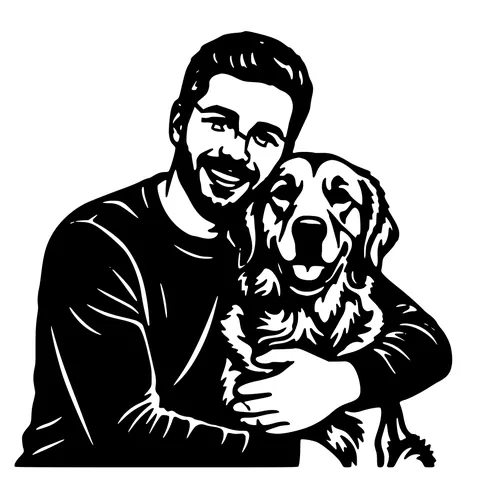
See it in action
The same photo in every style. Swipe through or let it play.


Ready to convert?
Drop in your file and download a laser-ready vector in seconds.
Open the free editor →Frequently Asked Questions
Is the background removal really free?
Yes. Background removal is part of the free StencilCut editor. No signup, no credit cost, and no watermark on the exported file.
Is my photo uploaded to a server?
No. The AI cutout model runs inside your browser on your own device. The photo is never transmitted or stored, so private and customer photos stay private.
What file do I engrave with after removing the background?
Convert the cutout to grayscale or a dithered pattern in the editor, then export a PNG at the true size you plan to engrave. Import that PNG into LightBurn, the Glowforge App, or xTool Creative Space and engrave it as an image layer.
Does it work on people and pets?
Yes. Portraits and pet photos are the most common use. The cutout model handles fur and hair well, and the restore and erase brushes let you fix any stray edges by hand.
Can I cut the result instead of engraving it?
Yes. After removing the background, trace the subject to SVG and you get its outline as vector paths, ready to cut as a silhouette or stencil on the same machine.
Related tools
Photo to Laser Engraving. Tonal Output From Real Photos
Photos carry uneven lighting, blown-out highlights, and busy backgrounds. all of which scorch as artefacts on a laser bed. This tool re-balances exposure, removes the background, and applies a material-tuned tonal curve before the engrave file is rendered.
Photo to Stencil Generator. AI Background Removal Built In
Photos are the hardest input for a stencil maker. busy backgrounds, soft edges, multiple subjects. This tool removes the background, isolates the subject, adds bridges, and hands you a one-piece laser-ready cutout.
Prepare a Photo for Laser Engraving, Start to Finish
Crop, brighten, strip the background, and convert to dots the laser can actually burn. The whole photo-to-engraving workflow lives in one free browser editor, with true-size export at the end.
Edit an SVG for Laser Cutting. Free, In Your Browser
Open any SVG, fix the problems that ruin cuts, and export a clean file. Resize to exact millimetres, bridge floating pieces, close open paths, delete duplicate lines, add kerf, and outline text. Nothing to install.